
Your roller shades don’t last forever. After years of going up and down, they start acting up. Maybe they won’t roll up anymore, or they keep falling down when you try to adjust them. Before you toss them out and buy new ones, try fixing them yourself. You might be surprised how easy some repairs can be.
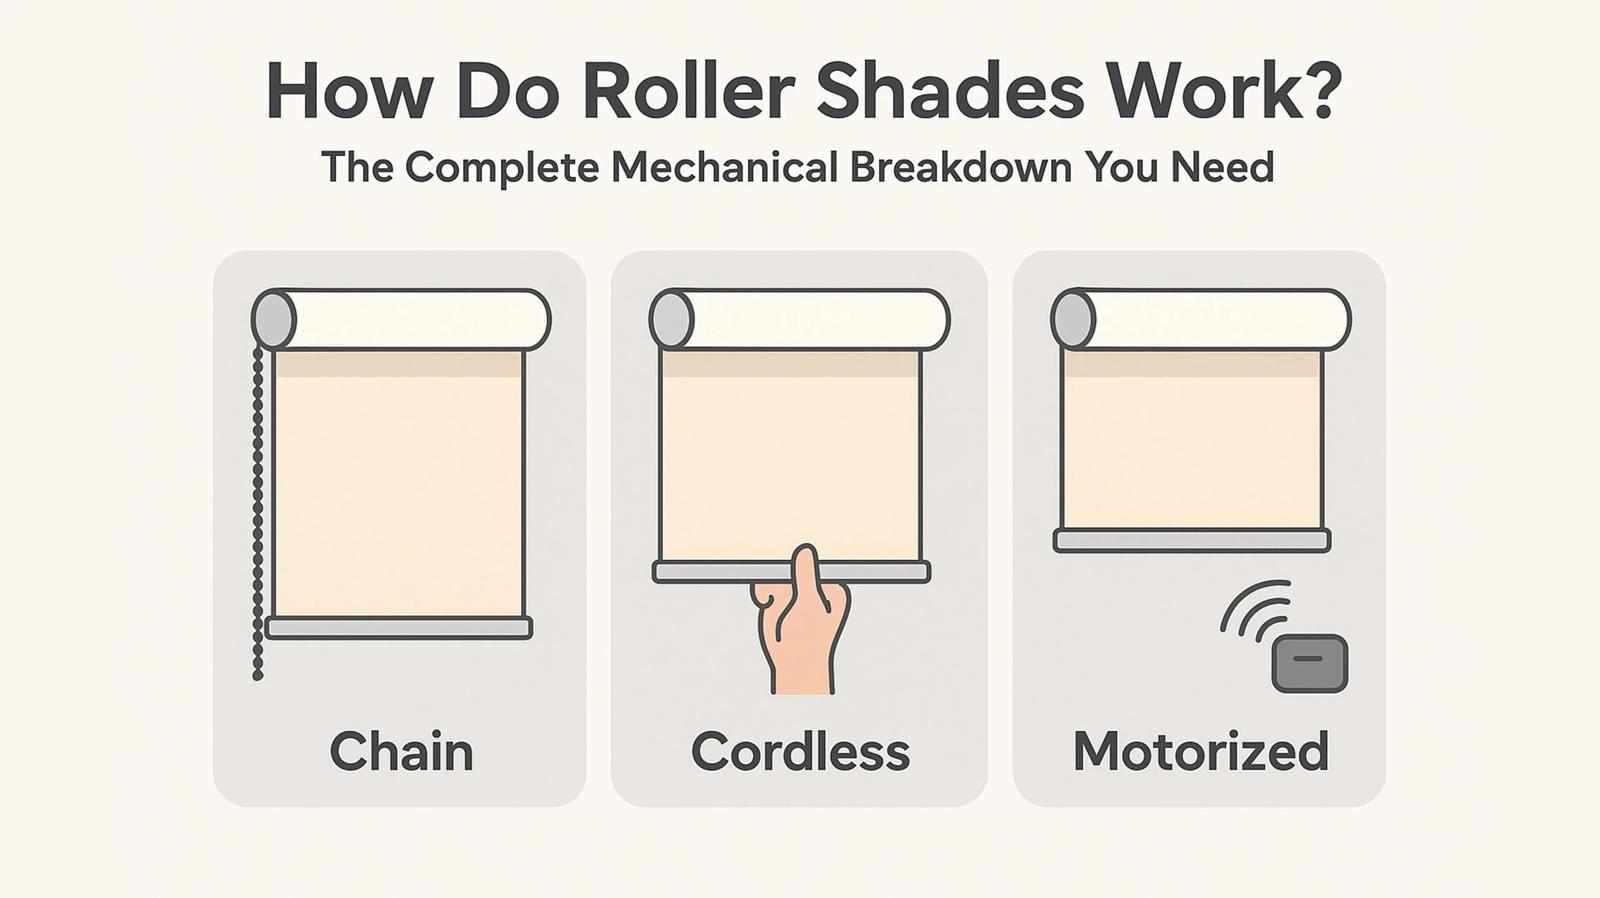
What Goes Wrong With Roller Shades
Most shade problems happen in predictable ways. The shade gets stuck halfway up. Or it crashes down every time you let go. Sometimes you’ll notice small tears in the fabric, or the whole thing feels loose when you pull it.
Roller Shades Accessories are usually what break first. The spring inside gets weak over time. The pull cord snaps or gets all tangled up. Those little side pieces that hold everything in place come loose from the wall.
Here’s the good news — most of these problems aren’t as bad as they look. You can fix a lot of them with stuff you probably already have around the house.
Getting Your Springs Working Again
The spring controls how your shade rolls up and stays put. When it goes bad, your shade won’t hold its position. It might slam down without warning or refuse to go up at all.
First, take the shade out of its brackets. Look inside the roller tube for the spring part. You’ll see where you can tighten it up. Turn it clockwise to make it stronger.
Don’t overdo it, though. Too tight and the shade snaps up like a rocket. Too loose and it won’t stay up. Small turns work better than big ones.
Fixing Broken Cords
Pull cords wear out from all that tugging. They fray, break, or get twisted up inside where you can’t see them. Getting a new cord is way cheaper than buying new shades.
Roller Blinds Accessories come with replacement cords in different sizes. Measure what you have before you order. Getting the old cord out means following where it goes through all the pulleys. Put the new one back the same way.
Mark where the cord goes in and comes out. This makes putting it back much easier. Test everything before you hang the shade back up.
Dealing With Rips and Tears
Small tears usually happen at the bottom where the shade hits the window frame over and over. Bigger rips might come from pets or accidents. You can patch both without replacing the whole thing.
For tiny tears, clear tape works as a quick fix. Iron-on patches last longer. Put the patch on the back side so you can’t see it from inside the room.
Bigger tears need some creativity. Cut a piece from the top part of the shade that stays rolled up. Use that to patch the tear you can see. Nobody will notice the hidden spot where you cut.
Fixing Loose Brackets
When brackets get loose, your shades sag or fall down completely. The screws work their way out of the wall over time. Check them every few months and tighten them up before things get worse.
Roller Shades for Window need solid places to mount. If the screws won’t tighten anymore, the wall anchor is probably shot. Take out the old one and put in a bigger anchor. Those toggle bolts work great in hollow walls.
Bent brackets usually can’t be saved. Trying to bend them back just makes them weaker. New brackets cost less than fixing a broken window or replacing damaged shades.
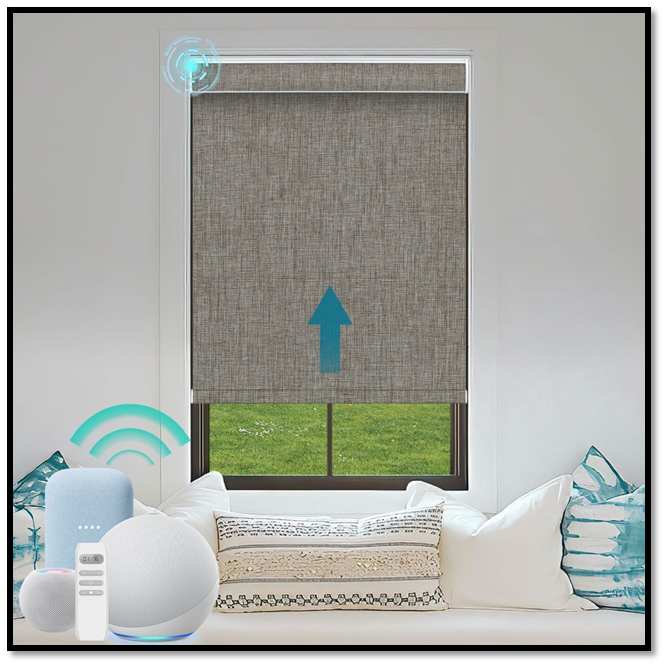
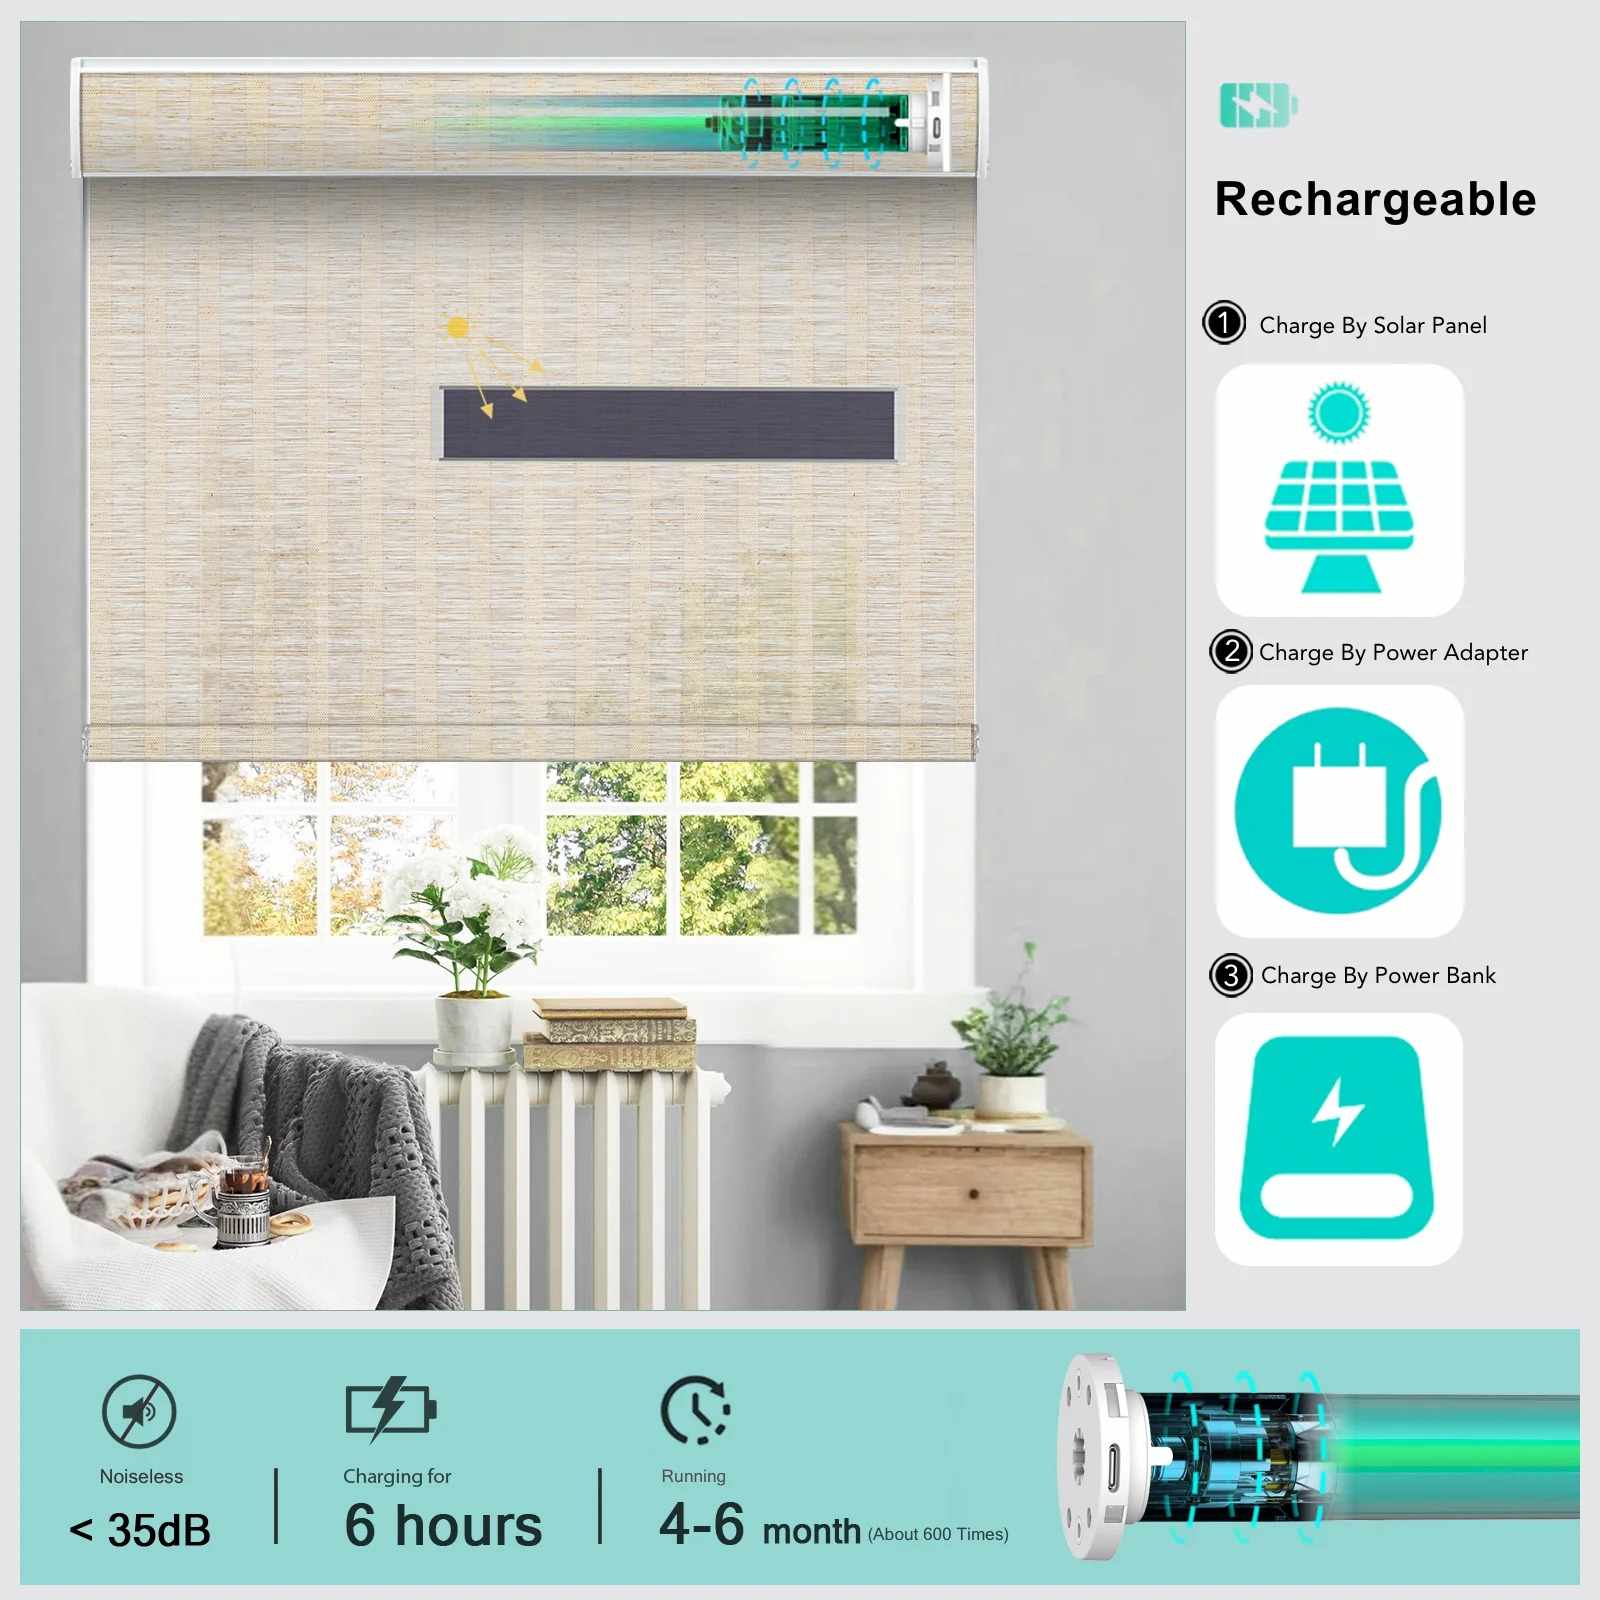
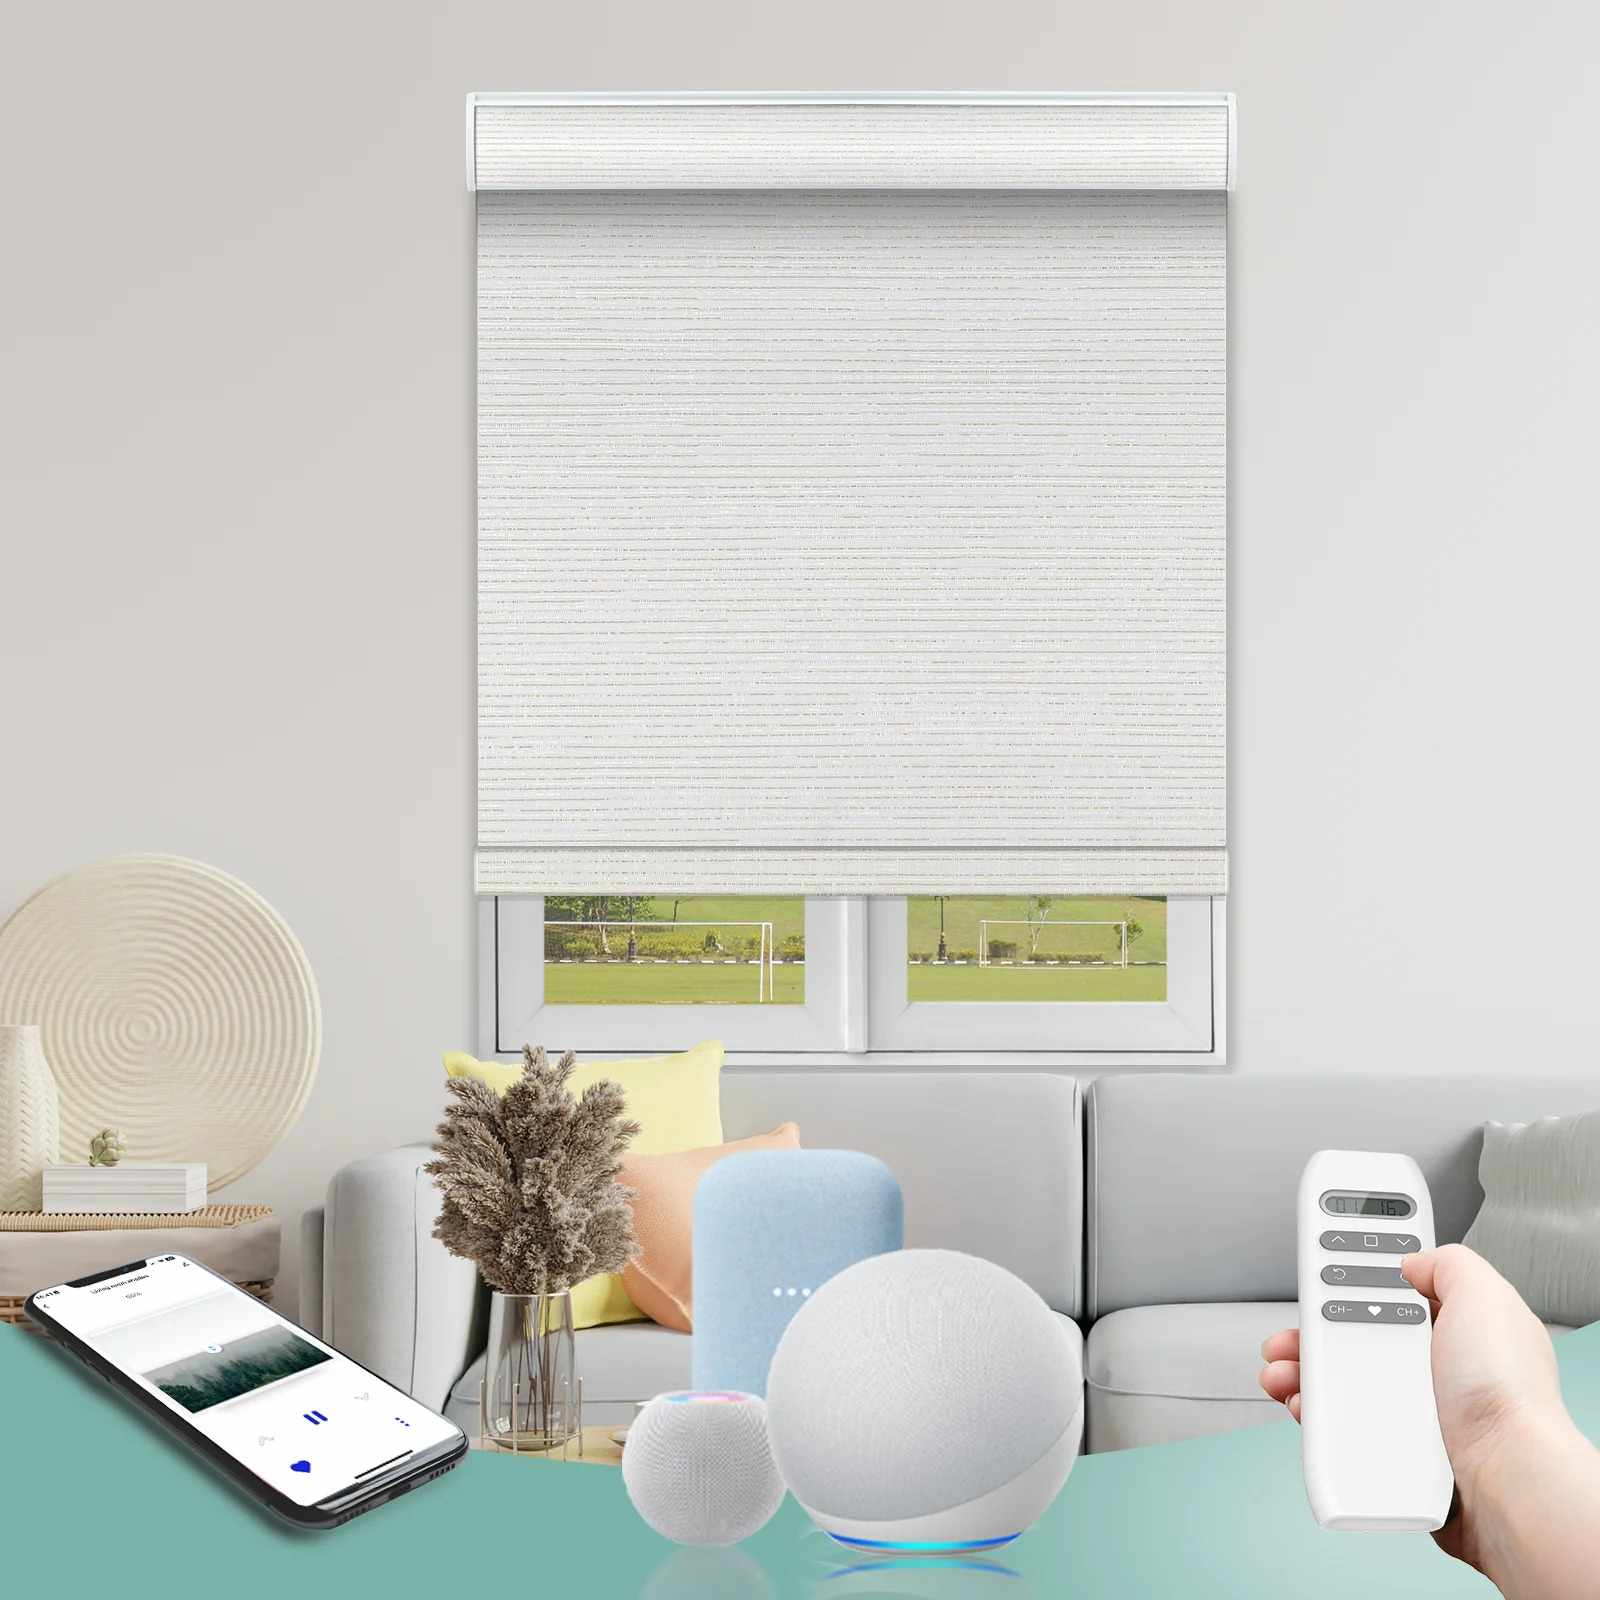
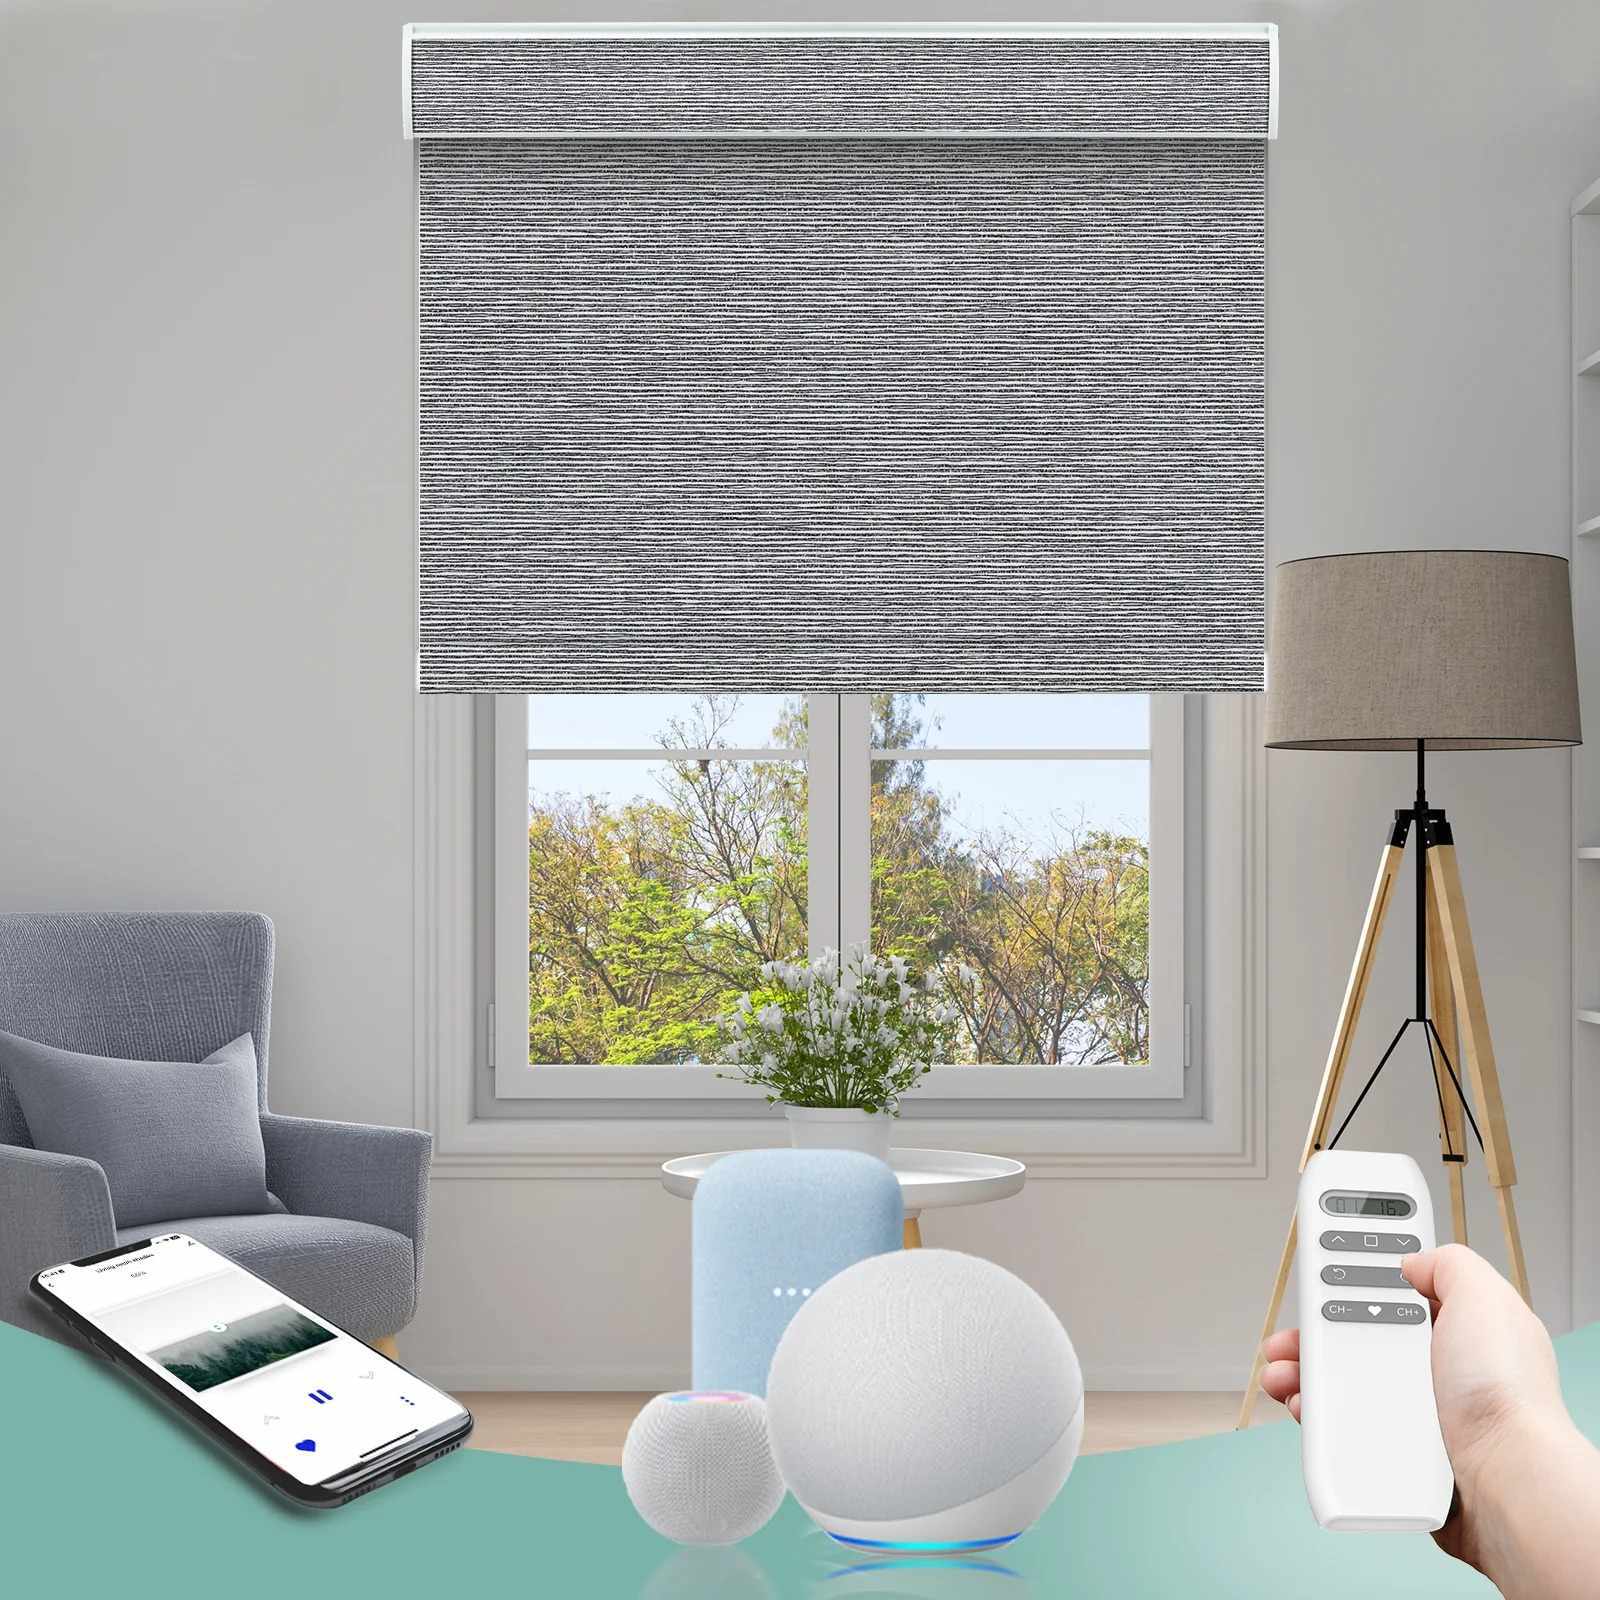
Smart Shade Problems
Alexa Smart Shades are convenient, but they bring their own headaches. Dead batteries cause most of the trouble. When batteries die, the shades won’t respond to voice commands or the remote.
Change batteries every six months to keep things working right. Check that all the wires are connected tightly. Loose connections cause weird problems that seem random.
If voice commands stop working, try resetting the smart controls. Most have a reset button somewhere near the motor. Check your instruction book to find it.
What You’ll Need for Repairs
Keep these tools handy for shade fixes. A screwdriver set with different-sized bits. Measuring tape for cords and bracket spacing. A level to keep things straight. Needle-nose pliers for spring work.
Wire cutters help with cord jobs. Iron-on patches fix fabric problems. Different-sized wall anchors handle mounting issues. A small bottle of light oil keeps moving parts smooth.
When DIY Isn’t Enough
Some repairs are too much for home fixing. Replacing motors in smart shades needs electrical know-how. Really damaged fabric might need professional work or complete replacement.
If you’re mounting into brick or concrete, you’ll need special tools and skills. When multiple shades break at the same time, something bigger might be going on.
Falling shades that damage window frames often need a carpenter. Water damage to fabric or mechanisms needs a pro to check for mold problems.
Final Words
Regular care prevents most problems before they start. Dust your shades once a month with a soft brush or vacuum attachment. Check mounting screws every three months and tighten any loose ones right away.
Put a drop of light machine oil on moving parts twice a year. Don’t use heavy oils that collect dust and dirt. Clean cord parts gently with compressed air to blow out built-up crud.
Run your shades all the way up and down once a week to keep springs and cords working smoothly. Just moving them partway for months can cause uneven wear.
DIY shade repairs can add years to their life while saving you money. Most problems have simple fixes that don’t need a fancy tool. A little regular care prevents big issues down the road.


Write a comment ...